Hooking Up Made Easy: A Beginner’s Guide to RV Connections
For new RV owners, understanding how to connect your RV to water, power, and sewer systems can seem daunting. However, learning the proper procedures for hooking up your RV at a campsite is essential for a comfortable and stress-free experience. In this comprehensive guide, we will walk you through the steps to master RV hookups like a pro, ensuring you have a smooth and hassle-free camping experience.
Understanding RV Hookups: The Basics
Before diving into the specifics, it’s important to understand the three main types of hookups you will encounter at most campgrounds: water hookup, electrical hookup, and sewer hookup. Knowing how each of these systems works and how to connect them properly is crucial to ensuring your RV functions as it should during your stay.
Water Hookup: Getting a Steady Supply of Fresh Water
One of the most important hookups is the water connection. Most campgrounds offer potable water hookups that allow you to connect your RV directly to their water supply.
Steps to Connect to Water Supply:
- Locate the Water Spigot: At your campsite, find the water spigot or hydrant, typically marked for easy identification.
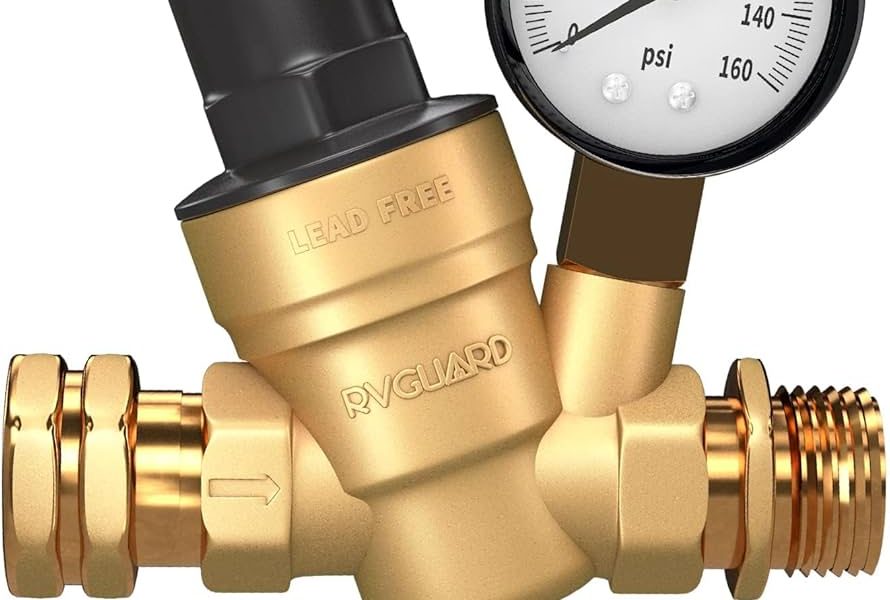
- Use a Water Pressure Regulator: To protect your RV’s plumbing from high-pressure surges, attach a water pressure regulator to the water spigot before connecting your hose.
- Connect the Freshwater Hose: Attach your potable water hose to the water spigot, ensuring it’s properly tightened to avoid leaks. Use a white or blue drinking water hose, which is designed specifically for potable water use.
- Attach to the RV Inlet: On your RV, find the freshwater inlet (usually labeled). Connect the other end of the hose to the inlet, ensuring it’s secure.
- Turn On the Water: Slowly turn on the spigot and check for leaks. Adjust the connections if needed to ensure a steady flow of water without leaks.
Pro Tip: Keep an extra hose splitter and multiple-length hoses handy in case the water hookup is far from your site or shared with other RVs.
Electrical Hookup: Powering Your RV Safely
Most campgrounds offer electrical hookups in 20, 30, or 50-amp connections, depending on your RV’s electrical needs. Understanding the proper steps to connect your RV to the electrical system is crucial to avoid damage to your appliances or electrical system.
Steps to Connect to Electrical Power:
- Locate the Power Pedestal: Find the electrical pedestal at your campsite. It should have multiple outlets labeled for 20, 30, or 50 amps.
- Inspect Your Power Cord: Ensure that your RV power cord matches the available outlets at the pedestal. If your RV uses 30 amps but the outlet provides 50 amps, use a dogbone adapter to convert the connection safely.
- Check the Circuit Breaker: Before plugging in, switch off the circuit breaker on the power pedestal to avoid potential electrical surges.
- Connect the RV Power Cord: Plug the power cord into the correct outlet on the pedestal. Double-check to make sure the connection is secure.
- Turn on the Circuit Breaker: Once everything is properly connected, switch on the circuit breaker to allow electricity to flow to your RV.
- Check for Power: Inside your RV, confirm that your electrical system is receiving power by checking your control panel or using a voltmeter.
Pro Tip: Always carry a surge protector to prevent electrical damage due to inconsistent voltage at the campsite.
Sewer Hookup: Managing Waste Properly
Connecting your RV to the sewer system allows you to manage wastewater from your kitchen, bathroom, and shower. Properly setting up your sewer connection is essential for hygiene and comfort during your trip.
Steps to Connect to the Sewer System:
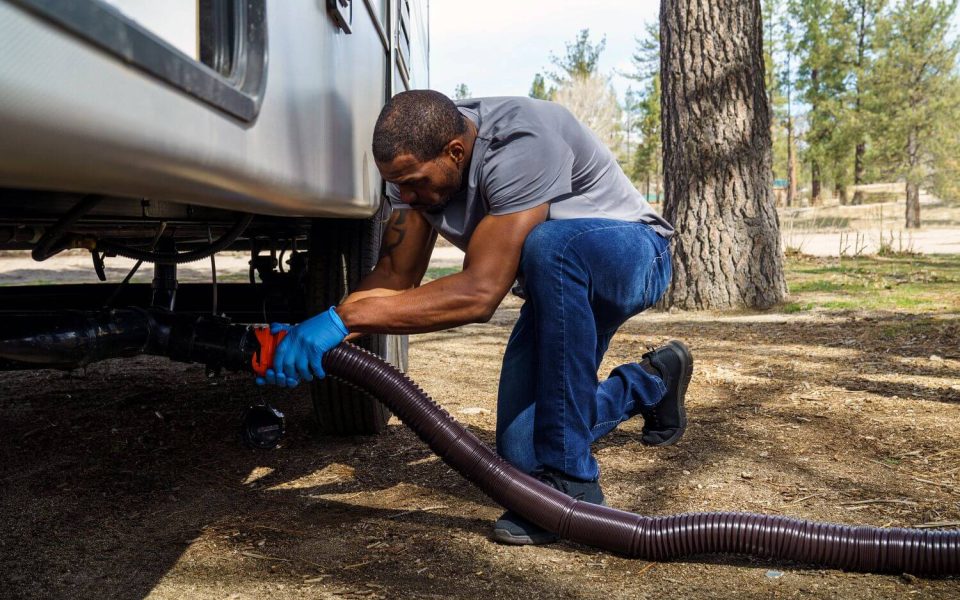
- Locate the Sewer Inlet: Identify the sewer connection point at your campsite. It’s usually a capped pipe at ground level.
- Connect the Sewer Hose: Attach one end of your sewer hose to the sewer outlet on your RV. The other end should connect to the campsite’s sewer inlet.
- Secure the Connections: Use sewer hose support to elevate the hose and ensure a downward slope toward the sewer inlet for optimal drainage.
- Open the Black and Gray Water Valves: Start by opening the black water tank valve (to empty waste from the toilet), followed by the gray water tank valve (to drain water from sinks and showers). Allow the contents to drain completely.
- Rinse and Disconnect: Once the tanks are empty, flush the sewer hose with fresh water before disconnecting it. Store the hose securely in its designated compartment.
Pro Tip: Always wear gloves and sanitize the area after handling the sewer hose to maintain cleanliness and avoid cross-contamination.
Cable TV and Wi-Fi Hookups: Staying Connected
While not all campgrounds offer cable or Wi-Fi hookups, many RV parks provide access to cable TV and Wi-Fi as part of your site fee. If these amenities are available, here’s how to get connected.
Cable TV Hookup:
- Locate the cable hookup box at your campsite.
- Connect a coaxial cable from the box to your RV’s cable inlet.
- Inside your RV, run a channel scan on your TV to detect available channels.
Wi-Fi Hookup:
- Check with the campground for the Wi-Fi network name and password.
- Connect your devices to the network through your RV’s Wi-Fi booster or router if available.
Pro Tip: Bring a Wi-Fi extender to boost weak signals, especially if your site is far from the main office or router.
Water Tank Fill-Up and Dump Stations: When Hookups Aren’t Available
In some cases, you might camp in places where full hookups aren’t available. Many RVers rely on water tanks and portable waste disposal methods in these situations.
Filling Your Freshwater Tank:
- Use a potable water source to fill your RV’s freshwater tank through the gravity-fill port.
- Monitor the tank levels using your RV’s control panel to avoid overfilling.
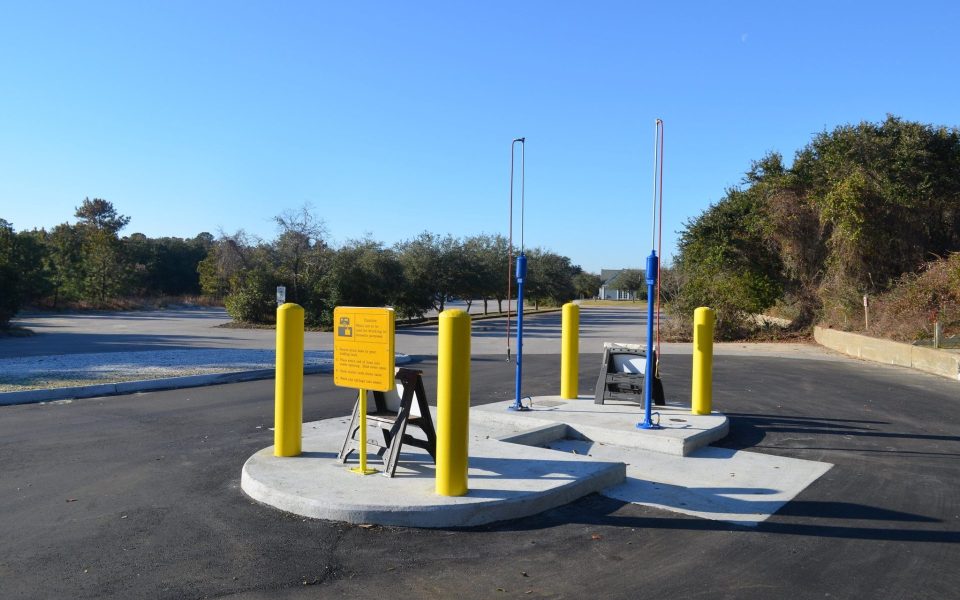
Using a Dump Station:
- Find a dump station at a nearby location, often available at campgrounds, truck stops, or rest areas.
- Follow the same procedure as for sewer hookups to drain your tanks at the dump station.
Pro Tip: Always carry a portable waste tote for extended stays at campgrounds without sewer hookups.
Final Tips for Hooking Up Your RV
Hooking up your RV can be easy once you familiarize yourself with the process. Here are some additional tips to make your experience smooth and stress-free:
- Carry Extra Supplies: Always bring spare hoses, electrical adapters, and other essential accessories in case the campground’s setup doesn’t match your RV’s requirements.
- Inspect Connections Regularly: Check all connections periodically during your stay to ensure there are no leaks or issues.
- Stay Organized: Keep your hoses, cables, and adapters in designated storage bins to ensure quick access and prevent damage.
Once you’ve mastered the basics of hooking up your RV, your camping experience will improve drastically. The convenience and comfort that come with properly connecting to utilities allow you to focus more on enjoying the beauty of nature and the freedom of RV living, rather than worrying about the technicalities.
Advanced Tips for Smooth RV Hookups
While the steps we’ve covered are essential for any RV owner, there are some advanced tips that can enhance your hookup process. These additional practices can help ensure that everything runs smoothly throughout your trip and that you’re prepared for any unexpected issues.
Using a Water Filter for Clean Drinking Water
Although most campsites provide potable water, the quality of water can vary depending on the location. Installing a water filter on your RV’s water line is a great way to ensure that the water you’re using for drinking, cooking, and washing is clean and free from contaminants.
How to Install a Water Filter:
- Attach the water filter directly to the water spigot or between the water pressure regulator and the hose.
- Ensure the filter is secure and test the water pressure after installation.
- Replace the filter as recommended by the manufacturer for optimal performance.
Using a filter can significantly improve the taste and safety of the water you use, especially if you’re staying in areas with hard or untreated water.
Protecting Your RV from Electrical Surges
Even with a surge protector, it’s possible to encounter power fluctuations at campgrounds. To safeguard your RV’s electrical system and expensive appliances, it’s wise to add an EMS (Electrical Management System), which offers more comprehensive protection.
Benefits of an EMS System:
- Continuous monitoring of the power supply.
- Protection from high or low voltage conditions.
- Automatic disconnection in case of a power issue.
Installing an EMS system can help you avoid costly repairs caused by electrical damage and ensure that your RV’s power supply remains stable throughout your stay.
Using Tank Treatment Products to Prevent Odors
Managing your RV’s waste tanks can sometimes result in unpleasant odors, especially if the tanks aren’t maintained properly. Using RV-specific tank treatment products is an effective way to minimize odors and keep your tanks running smoothly.
How to Use Tank Treatment Products:
- After emptying the black and gray water tanks, pour the recommended amount of treatment into the tanks.
- Add water to help distribute the product throughout the tank.
- Use the treatment regularly to break down waste and prevent buildup.
These treatments not only reduce odors but also help prevent clogs and prolong the life of your RV’s waste system.
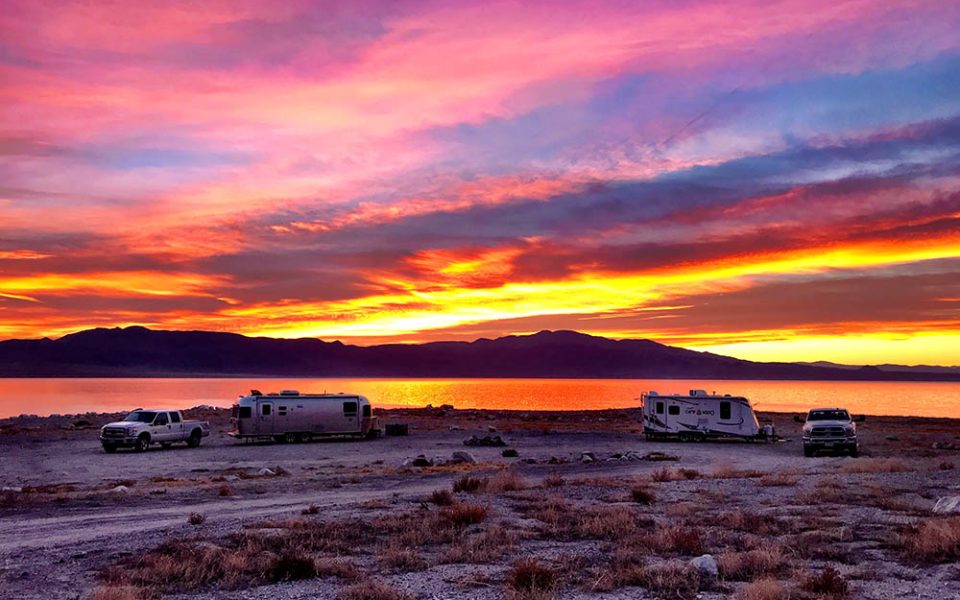
Dealing with No Full Hookup Sites: Boondocking Essentials
If you’re planning on boondocking (camping without hookups), preparation is key to ensure your stay is comfortable. Without direct access to water, electricity, or sewer connections, you’ll need to rely on your RV’s internal systems and portable equipment.
Key Boondocking Tips:
- Conserve Water: Use your fresh water tank wisely. Limit showers, avoid washing dishes with running water, and keep water usage minimal.
- Power Management: Rely on your RV’s battery or solar panels for electricity. If possible, invest in a generator for backup power.
- Waste Disposal: Use dump stations or portable waste totes to manage your black and gray water when hookups aren’t available.
By mastering these boondocking techniques, you can extend your stay off-grid and enjoy the peace and solitude that comes with remote camping.
Regular Maintenance of RV Hookup Components
Just like your RV itself, the components used for hooking up to utilities require regular maintenance to ensure they stay in working order. Taking a proactive approach to caring for your hoses, cords, and connectors will prevent problems down the road.
Maintenance Tips:
- Inspect your water hose for cracks or leaks before each trip.
- Clean and store your sewer hose in a designated compartment to avoid contamination.
- Test your electrical cord for signs of wear, fraying, or loose connections.
- Keep replacement washers and O-rings on hand to fix minor leaks.
Caring for these essential tools will make hooking up your RV a smoother and more reliable process.
Safety Considerations for RV Hookups
Safety should always be a top priority when connecting your RV to any utility. Electrical mishaps, water contamination, or improper waste handling can lead to serious issues if not handled carefully. Following safety protocols and staying vigilant can prevent accidents.
Safety Measures to Follow:
- Wear Gloves: Always wear gloves when handling sewer connections to avoid contact with harmful bacteria.
- Double-Check Connections: Ensure that all connections are secure and leak-free before leaving them unattended.
- Shut Off Power Before Disconnecting: Always turn off the power at the pedestal before unplugging your RV’s electrical cord.
- Use Proper Ventilation: When using propane-powered appliances inside your RV, ensure proper ventilation to avoid carbon monoxide buildup.
By adhering to these safety tips, you can enjoy peace of mind during your RV travels.
How to Troubleshoot Common Hookup Problems
Even the most experienced RVers can occasionally run into issues when hooking up at a campsite. Knowing how to troubleshoot common problems will help you quickly resolve them and get back to enjoying your trip.
Troubleshooting Water Connection Issues:
- Low Water Pressure: Check the campground’s water pressure and ensure the water pressure regulator is working properly.
- Leaking Hose Connections: Tighten the hose connections and check for worn-out O-rings. Replacing these parts can fix most leaks.
- No Water Flow: Verify that the water spigot is fully open and that there are no kinks in the hose.
Troubleshooting Electrical Connection Issues:
- No Power: Check the circuit breaker on the power pedestal and inside your RV. Reset any tripped breakers.
- Power Surges: If you experience power surges, unplug your RV and check your surge protector for signs of damage.
- Electrical Malfunction: If your appliances aren’t working, test the outlets with a voltmeter to confirm they’re receiving power.
By understanding how to handle these issues, you’ll be better equipped to keep your RV systems running smoothly no matter where you camp.